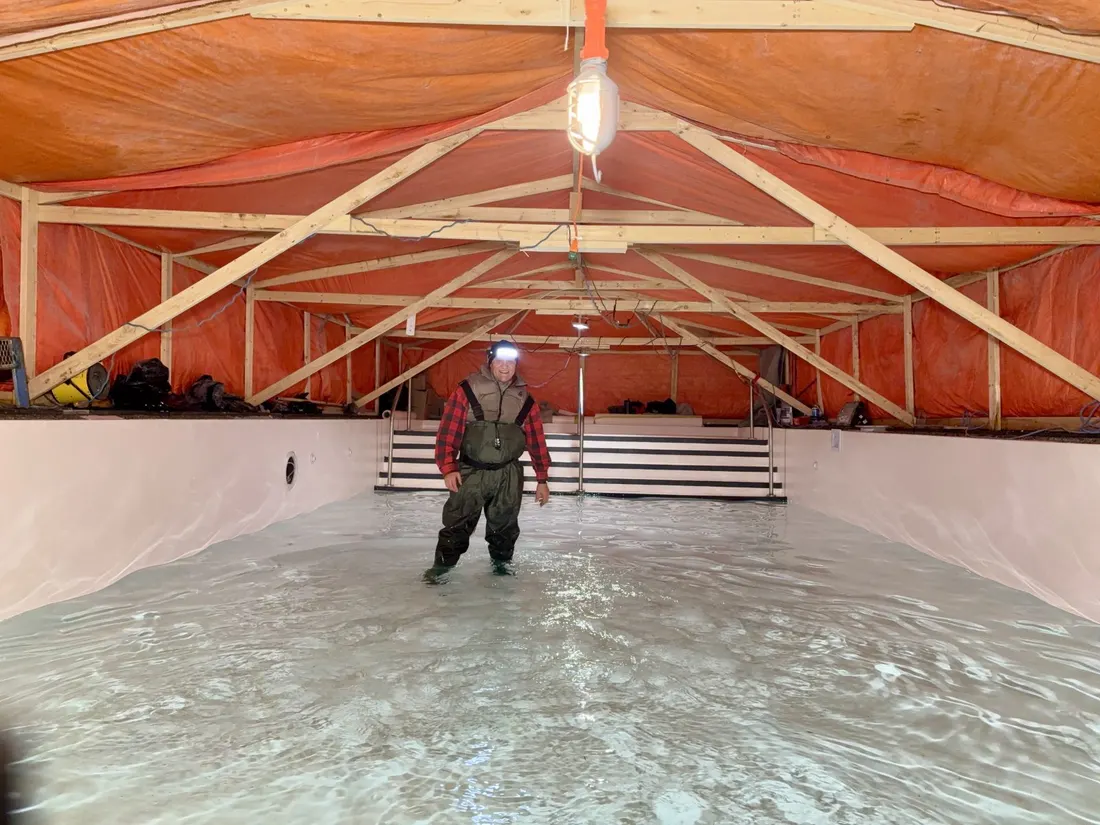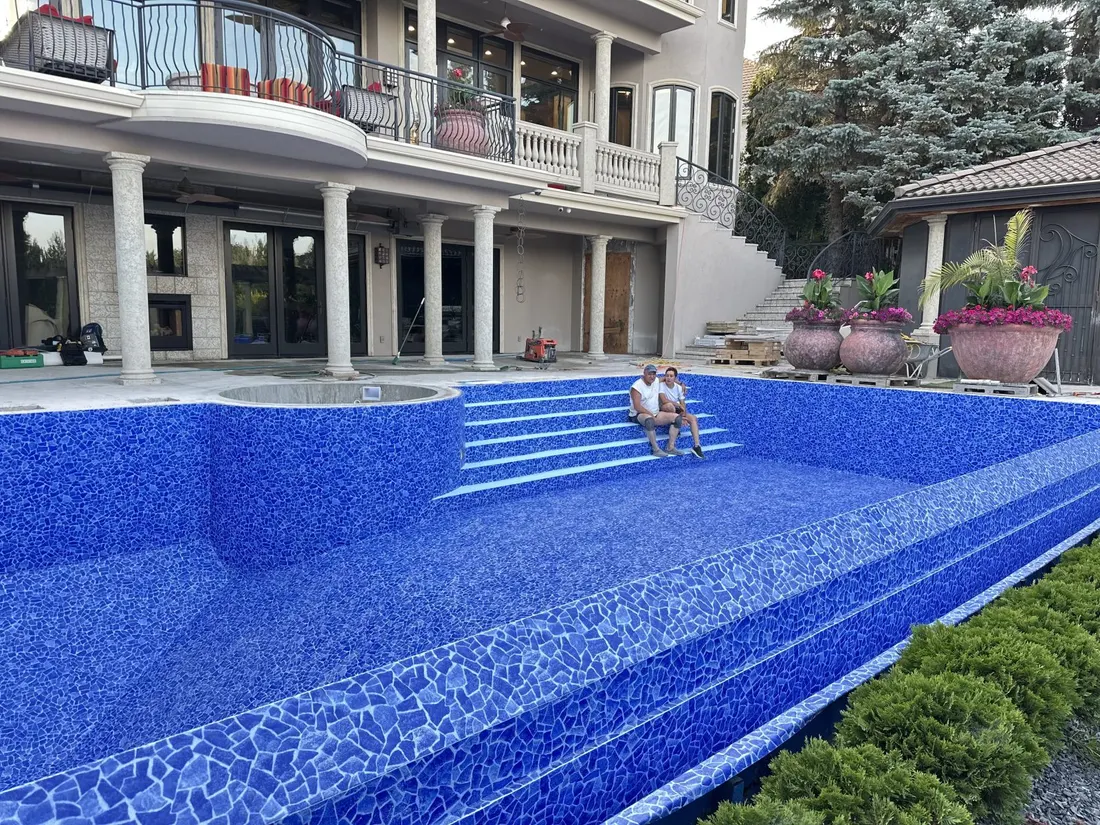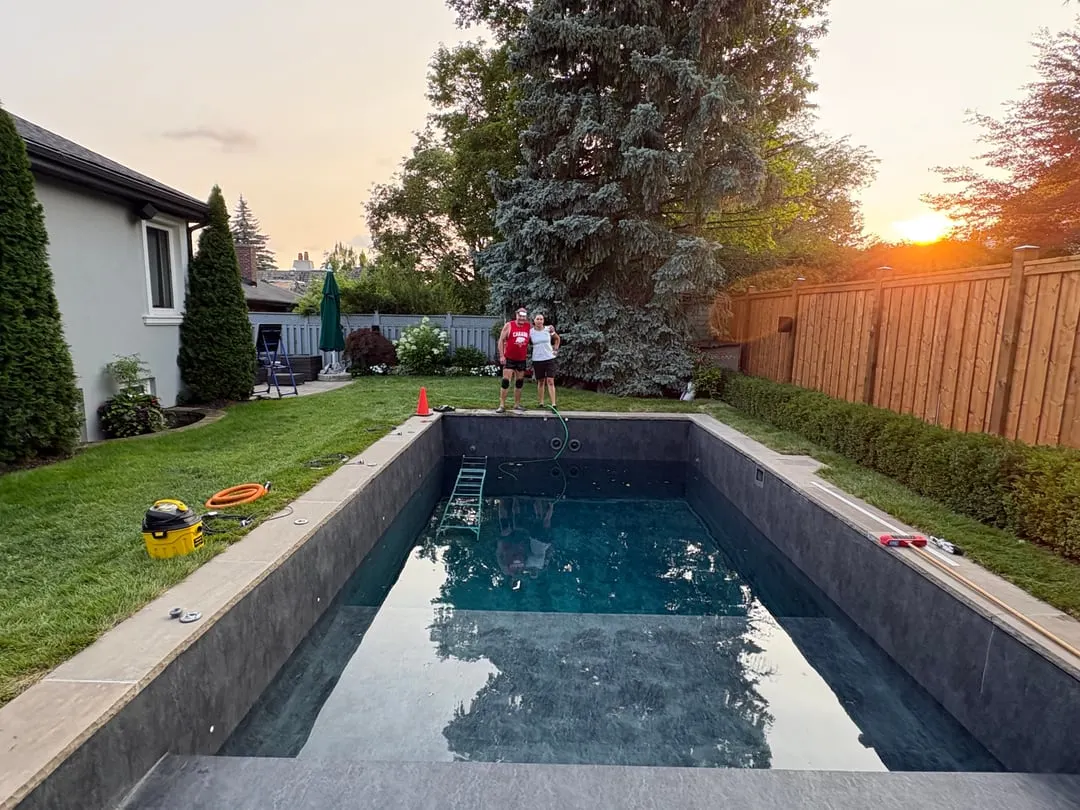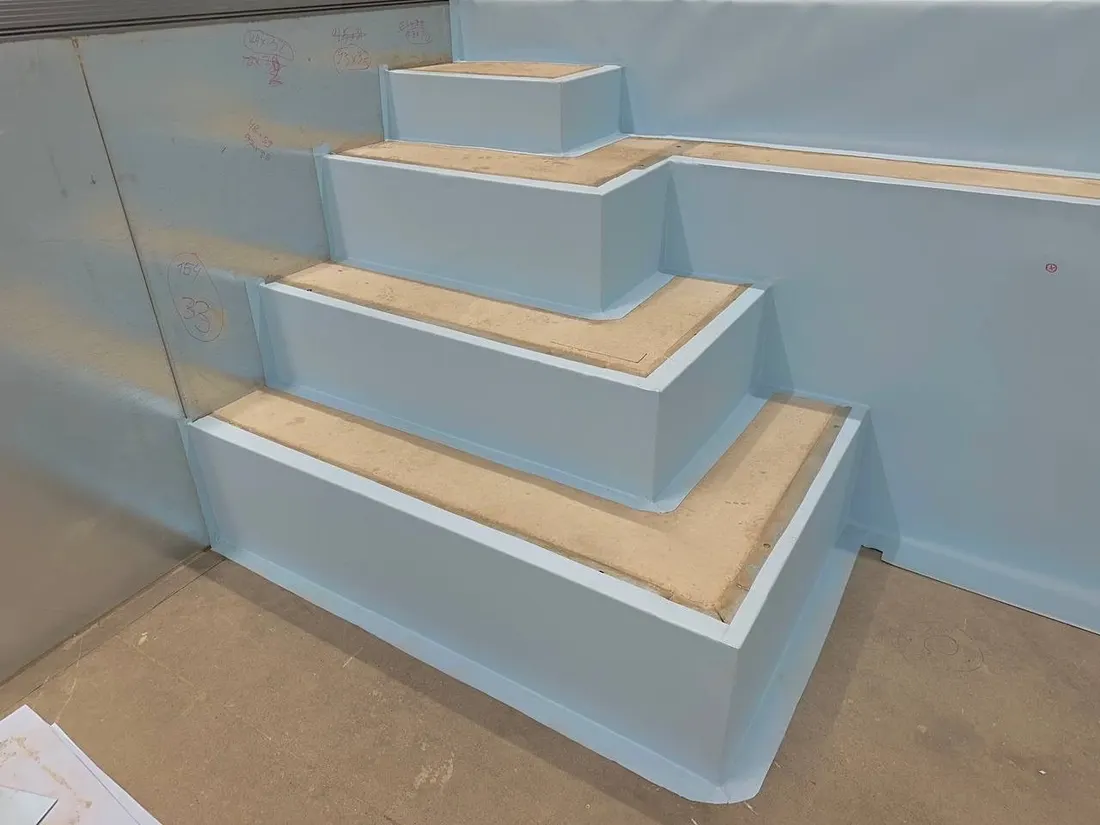
A membrane pool is lined with sheets that usually come 1.65 m wide, so even a small backyard pool has many metres of joints. Nothing glues those joints. Hot air melts the surface of two overlapping sheets, a roller presses them together while they are soft, and they cool as one piece of PVC. Whether the pool holds water for years depends on how well that is done along every metre, so it helps to know what a good seam takes.
The numbers below come from SOPREMA's installation manual for SOPREMAPOOL membranes (Spanish edition, June 2024). Other makers publish their own figures, and the installer follows the manual of the membrane chosen for your pool.
One seam, from the first tack to the last pass
- The two sheets are laid so they overlap by 4 to 5 cm. The edges have to be clean and dry: SOPREMA explains that any moisture turns to steam under the heat and leaves air bubbles in the joint.
- Before the lining starts, a test weld is made and torn apart on purpose. The right working heat changes with the humidity, the air temperature and the wind on site, so the settings are proven on a scrap first.
- The welder runs between 450 and 490°C. A 20 mm flat nozzle goes into the overlap at about 35 degrees to the line of the seam.
- The roller follows about 1 cm behind the nozzle, tilted at about 20 degrees, pressing evenly on the softened edges.
- The pace is about 80 cm a minute, kept steady from one end of the seam to the other.
- The finished weld is 2 cm wide inside the 4 to 5 cm overlap.
SOPREMA also asks for a 220 V supply on a heavy enough cable, and warns against long, thin extension leads and against sharing one cable with other machines, so the voltage doesn't drop while the welder runs.

Which joint goes where in the pool
A pool is not lined in one direction. The walls, the floor and the steps each get a joint that suits them, and the manual gives different overlaps for each.
| Part of the pool | How the pieces meet | Overlap in the manual |
|---|---|---|
| Walls, sheet to sheet | Overlap weld, placed in the less visible spots or in vertical corners, never next to a fitting | About 10 cm |
| Wall to floor | The wall membrane runs onto the floor and the floor sheet is welded over it | At least 10 cm |
| Floor, sheet to sheet | Overlap weld, or a butt joint where the edges meet on a welding strip glued underneath | 4 to 5 cm, or none for a butt joint |
| Steps, risers and treads | Pieces glued and welded at each face, the extra cut at 45 degrees so it doesn't pile up | 5 cm at every meeting face |
The butt joint is used on the floor because that is where you look straight down at the membrane, and with no overlap there is no line to see. The SOPREMA manual names it for its 3D and Feeling ranges, and on walls it advises against it as too hard to do well. RENOLIT offers the same option for its 2 mm ALKORPLAN TOUCH, and its FAQ for pool professionals says the seams then become practically invisible.
The wall to floor joint has one detail owners rarely hear about. The membrane is held 3 to 5 cm away from the corner where wall meets floor, not pushed into it. When the pool fills, the water presses it into the corner, and it settles there without folding. Steps and benches take the most hand work of all, which is why we gave them their own page on membrane steps and benches.
Testing every weld, then sealing it
SOPREMA calls the check compulsory for every weld. The tip of a welding tester is drawn along the whole seam, pressed against the edge to find any weak point, and every weak point is welded again. On our jobs the place gets a marker line first, so nothing is missed on the second pass.

After the test, a bead of liquid PVC is run along the edge of the seam and left to dry for 15 to 30 minutes, depending on the weather. It gives the joint a neat finished edge and closes it off completely, but the manual is clear that it does not replace the weld, which is the only thing that makes the pool watertight. Two practical rules come with it. On walls the bead starts at least 2 cm above the floor, because the liquid runs down and would pool in the corner. And the testing and sealing of a seam are done on the same day.
You can see seams, corners and spots marked for another pass in our close-up photographs of membrane work details.
Why cold weather sets the start date
The same manual says not to install PVC membrane when the air is below 10°C. SOPREMA also stores its rolls between 10 and 30°C, according to its data sheet for SOPREMAPOOL FEELING, which also says the edges must be clean and dry for a correct weld.
For an outdoor pool in most of Canada, that means the membrane goes in once days stay above 10°C. An indoor pool, where the air is kept above that, is not tied to the season. If you plan a pool for next summer, the winter is the time to send us photographs and settle the membrane, so the job is ready when the weather is.
What you can look at yourself
You don't need a tester to see whether a seam was made with care. During the job and after it, these are worth a look:
- The weld line runs straight and even, with no shiny burnt patches and no bubbles along it.
- Wall seams sit in corners or less visible spots, and none of them runs through a fitting.
- On patterned membrane, the pattern lines up across the seam.
- A thin, tidy bead of liquid PVC follows the edge of each seam and stops short of the floor on the walls.
- The wall to floor corner is not pulled tight before filling.

A seam that is made, tested and sealed right is the reason a membrane pool doesn't leak. If a seam ever does let go, the same welding closes it again, and finding where the water goes is covered in our article on a membrane pool losing water.
Is the seam the weak point of a membrane pool?
Only if it was made badly. A weld fuses the two sheets into one piece of PVC, and the seam is then tested along its whole length before the pool is filled. Leaks in membrane pools do happen at seams, which is why the test is not skipped on any of them.
Can a seam be fixed later if it opens?
Yes. The membrane is still PVC, so a section can be cleaned, dried and welded again, or a patch can be welded over it. That is part of our membrane repair work.
How a whole new pool is lined, from the underlay to the water, is on our page about PVC membrane installation.