
Steps, benches and ledges
Steps and benchesin PVC membrane
The steps are where people walk into the pool and sit in it. We line every tread, riser and bench in reinforced membrane cut on the spot and welded by hand.
One step, cut through
On a step the membrane turns two corners within a hand's width. Here is one flight drawn in section, with the pieces numbered.
- The shell, concrete or whatever the pool was built from. The membrane shows every bump and dip of what is under it, so the steps have to be sound and true before anything goes on them.
- Geotextile underlay, cut to each tread and each riser, so the membrane never lies on bare concrete.
- A riser piece of membrane, cut to the height of that step and welded to the wall pieces at both ends.
- A tread piece laid over the top of the step and welded to the risers, so the step is closed on every side.
- An edge strip where the steps need one: a band of membrane in a contrasting colour welded along the front of the tread.
None of these pieces comes from a factory pattern. Each one is measured on the step it goes on, cut there and welded there by hand. A flat wall is laid in long sheets; a step is a riser, a tread and the ends where they meet the walls, each one a small piece of its own. On our membrane installation page the steps, benches and corners are one of six stages, the one that takes the most hand work.
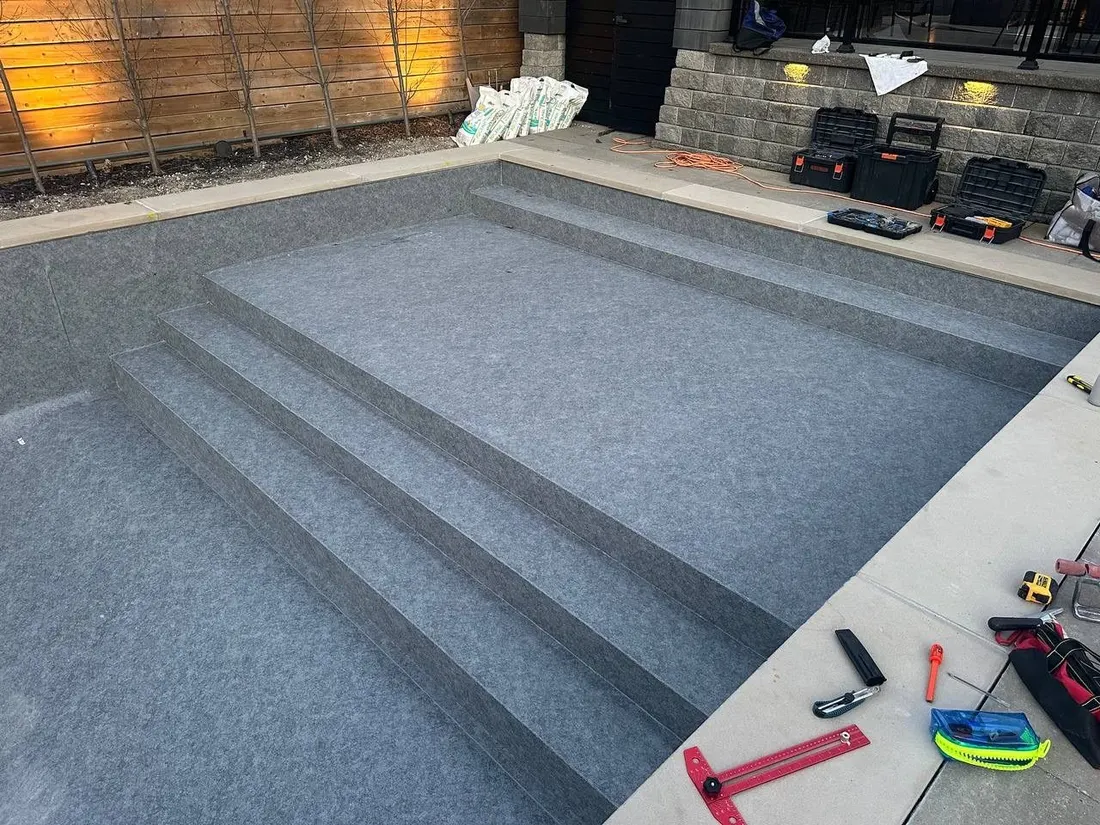
Steps on our own jobs, from bare treads to finished
Three photographs from pools we lined. In the first two the risers already have their membrane and the treads are still bare.
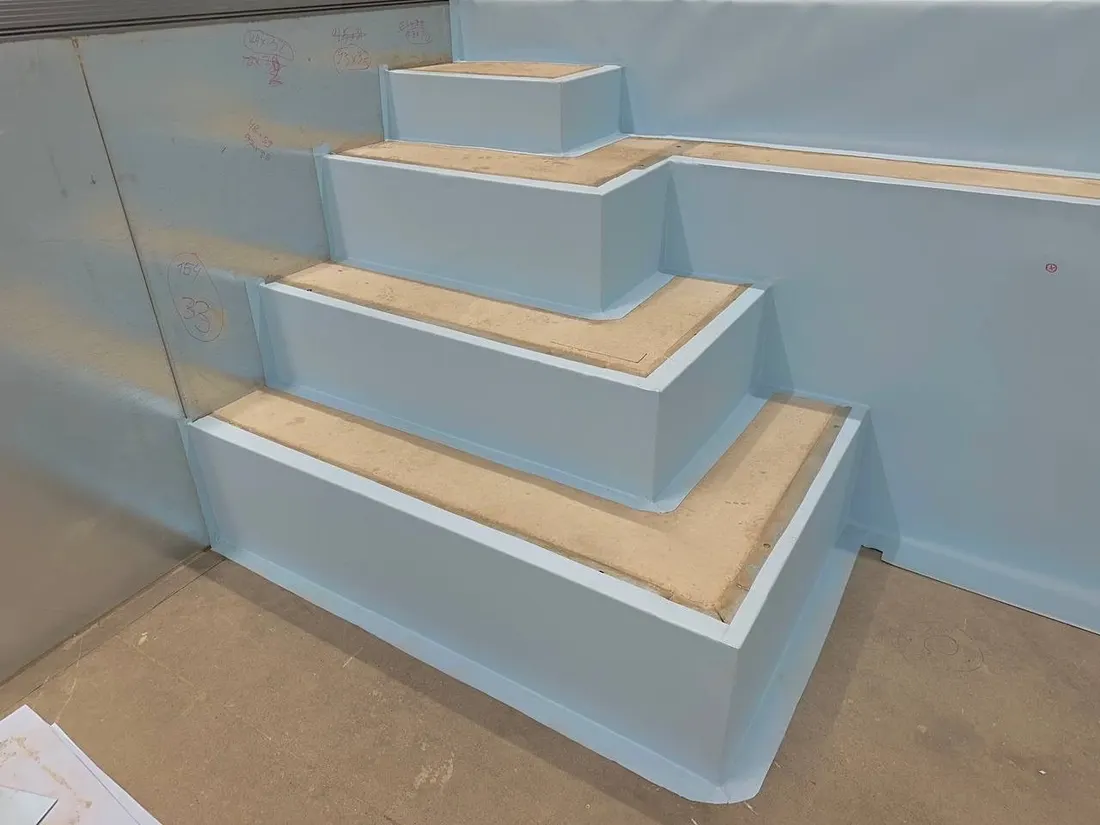
1Corner steps
Four steps stacked in a corner, each one narrower than the one below. Every riser and the walls on both sides are lined; the treads come next.

2Steps and a bench
A flight of five steps beside a long bench. The grey textured membrane is on the risers, on the front of the bench and on the upper walls; the floor and the treads are still to go.
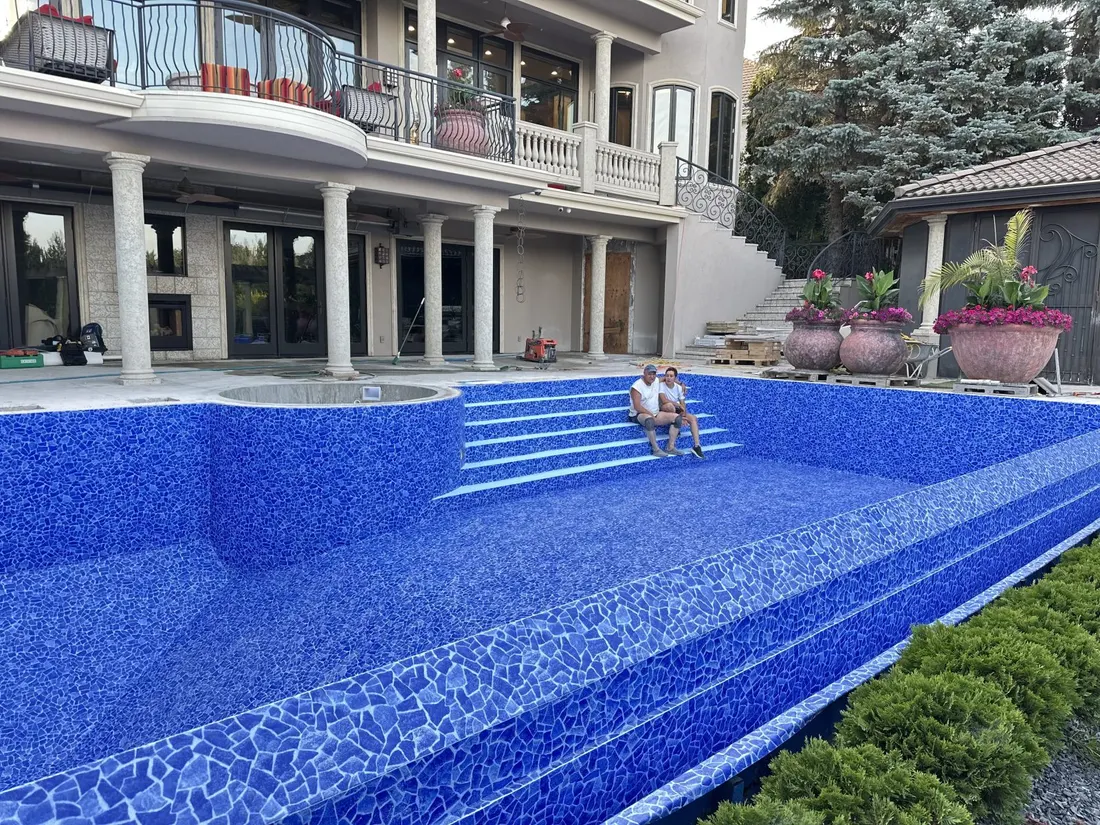
3Finished
Wide entry steps at the house end of a pool, in the same blue mosaic-pattern membrane as the walls and floor, the treads edged in a lighter line. The pool is still empty; the water went in after this picture.
Grip under a wet foot
The steps are where people stand, sit and climb out. There are two ways to give a membrane step its grip, and they can be used together.

A textured membrane on the treads
Manufacturers make membranes with a textured, slip-resistant face. RENOLIT writes that every design of its ALKORPLAN TOUCH range is now slip-resistant, with the C category certification public pools require, and that it recommends it for steps in private pools too (RENOLIT, The same Elegance, a new texture).
With a range like that, the steps can carry the same pattern as the rest of the pool. The colours and textures of all three makers we install are on our Membranes page.

A contrasting strip on every edge
Where the edge of each step has to be seen from above the water, a strip of dark anti-slip membrane is welded along the front of every tread and down the side of the flight. On white steps the black line marks where each step ends.
Ontario asks for that contrasting band on the steps of a public spa, in section 25 of O. Reg. 565, Public Pools; our page on membrane for commercial pools goes through the rule line by line.
Wide entries, corner steps and benches along a wall

Wide entry steps
A wide entry turns one end of a pool into long treads, good for sitting in shallow water. Each tread is one long piece, and the pattern of the membrane can run on from the walls, as on the mosaic steps above.
Benches and ledges
A bench or a ledge is part of the shell. We line its top, its front and the inside corners where it meets the wall, the same way as a step. A light or a jet in a riser or a bench is cut out and sealed with a flange.
Steps in a pool you already have
Old concrete or tiled steps are lined together with the rest of the pool when it is re-lined; that work is on our pool renovation page. If the steps of a membrane pool are losing water at a seam or around a fitting, it is a membrane repair.
Six pictures of your steps that help us price them
Every estimate is prepared by us after we review the pool. For the steps, these photographs tell us most of what we need.
All the steps in one frame, taken straight on from the deck.
So we can count them and see their shape.The same steps from the side.
The height of each riser shows best from here.A close look at the front edge of one tread.
Rounded, square or with tile on it.Any crack, loose tile or old patch on the steps or a bench.
It has to be put right before the membrane.Every light, jet or fitting in the steps and benches.
Each one gets its own flange.A tape measure across the widest tread, inside the picture.
It gives every other photograph a scale.Send them with the pool's location and its history. We reply within three days with when the estimate will be ready, and site visits within 40 km of our Woodbridge office are free. Our finished steps and pools are on our work.
Request an estimateWhat owners ask about membrane steps
Can the steps be a different colour from the pool?
Yes. Treads, risers and edge strips are separate pieces of membrane, so they can be cut from another colour or texture and welded in. You choose from the sample books of RENOLIT, Poolside by CGT and SOPREMA.
Is membrane slippery on the steps?
Manufacturers make textured, slip-resistant membranes for steps and shallow areas, and a contrasting anti-slip strip can be welded along each tread. Which one suits your pool is decided with you for that project.
Can the steps of an existing concrete or tiled pool be lined?
Yes, as part of re-lining the pool: the underlay goes down and the membrane is welded over the steps that are already there. The shell has to be sound before we start, so tell us the pool's history when you write.
Tell us about your pool
Every estimate is prepared by us, after we have reviewed the pool. Send photographs if you have them.