Every pool loses some water. Sun, wind and swimmers take a little each day, and a heated pool loses more. What an owner wants to know, looking at the skimmer in the spring, is whether the drop they see is that, or a hole somewhere they cannot see.
Most of the advice online was written for vinyl liners, plaster and fibreglass. A reinforced PVC membrane is a different surface: it is welded together on site with hot air, and every fitting is sealed through it with a flange. So the test is the same as for any pool, but where you look afterwards is not.
The bucket test, the way water departments describe it
City water departments in dry places publish this test because a leaking pool wastes their water. The City of Scottsdale gives it on its water conservation page for homeowners, and the City of Tampa on its check for leaks page. Put together, it runs like this:
- Fill the pool to its normal level, then stop adding water. If the pool has an autofill, turn off its water supply until the test is over.
- Fill a bucket with pool water and set it on a step so most of it sits in the pool. The water inside should be at the same height as the pool.
- Mark the level inside the bucket and the level of the pool on the outside of it. A wax pencil or a strip of tape works.
- Do not backwash the filter and keep swimmers out, so no water leaves the pool except by evaporation or a leak.
- Wait two or three days. Scottsdale asks for at least two to three days; Tampa gives 24 to 72 hours. If it rains or blows hard, start again.
- Compare the two drops. Then run the test a second time with the pump in the opposite state: once running, once off.
The bucket sits in the same sun and wind as the pool, so it loses roughly what the pool loses to the air. Anything the pool loses beyond that went somewhere else.
Reading what you measured
| What you saw | What it points to | What to do next |
|---|---|---|
| The pool and the bucket dropped the same | Evaporation. Scottsdale says plainly that equal drops mean no leak | Nothing. Top up as usual |
| The pool dropped more, and more again with the pump running | The plumbing. Scottsdale names it as the probable cause when more water goes with the pump on | Check the equipment and pipes; this is outside the pool surface |
| The pool dropped more, the same with the pump on or off | The pool itself: the surface, or a fitting set in it | Look at the seams, the fittings and any wrinkle, as below |
| The level keeps falling, then stops at one height | Often a fitting or an opening at that height, such as a skimmer, a return or a light | Note the height and photograph that fitting |
Where a welded membrane lets water through
When we repair a membrane pool, the work goes to three kinds of place. They are the same three places to look at when the test points to the pool itself.
A seam
A membrane is laid in sheets and the sheets are welded where they overlap. A good weld is continuous along its whole length. Look along every seam you can see, on the floor and the walls, for an edge that lifts, a gap you can slide a fingernail under, or a line where the colour changes. On an old job, an opened seam is welded again from end to end, as described on our membrane repair page.
A fitting

Drains, returns, lights and skimmers all pass through the membrane. The membrane is cut around each one, and a flange clamps it to the fitting. If the membrane was cut too wide, or the flange was not seated, water finds that path. Watch for a fitting that has moved, a flange with a missing screw, or membrane that puckers around the ring. On a repair the membrane around a failed fitting is cut out, a new piece is welded in, and the flange goes back on.
A wrinkle

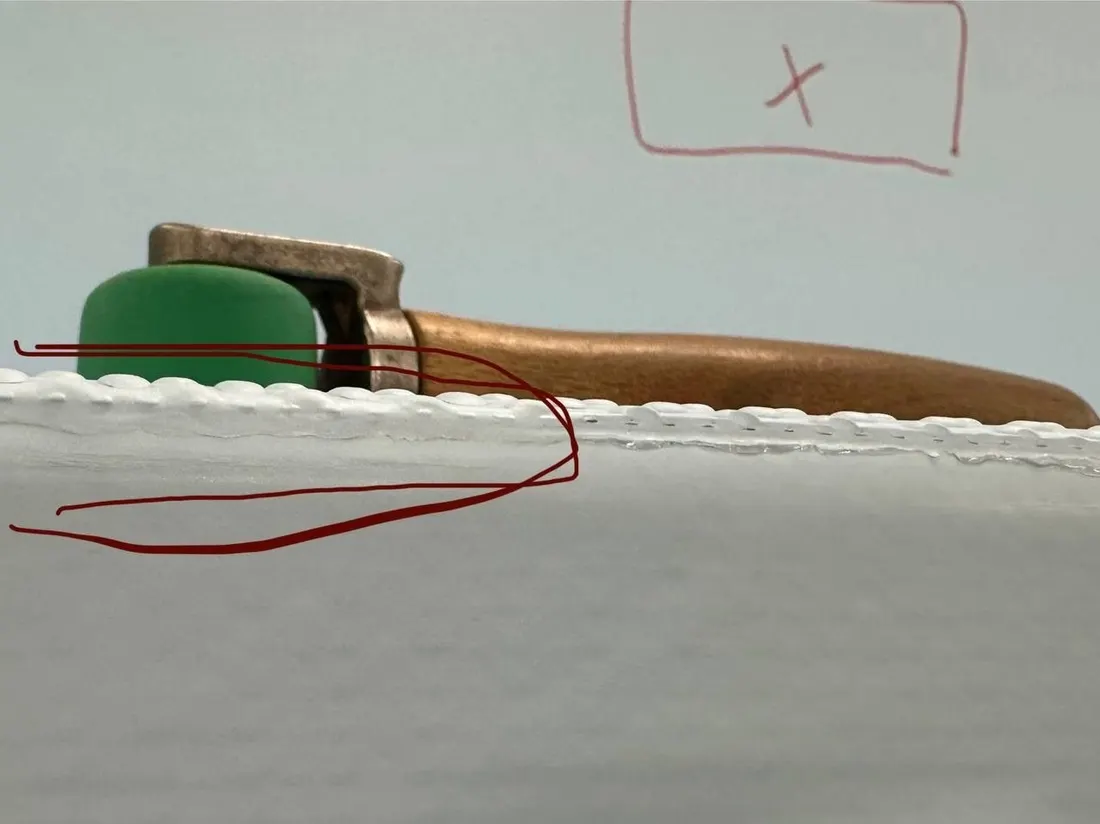
A wrinkle is a place where the membrane is not lying flat against the wall or floor, and a place water can get behind. It works both ways. SOPREMA's maintenance instructions for its reinforced membrane warn that water getting between the membrane and its support, from heavy rain or rising groundwater, can make the membrane shift and form folds. So a new fold that was not there last season is worth a photograph, even if the test was close.
A drop that matches the bucket is the sun and the wind. A drop that beats the bucket every time means the water has a way out, and on a membrane pool that way out is almost always one of these three.
What not to do to the membrane while you look
- Do not scrub a suspect seam with a metal brush or blast it with a pressure washer. The same SOPREMA instructions say both can damage the membrane.
- Do not put chlorine tablets or any other product against the membrane to clear a stain near the spot. The maker says no chemical, liquid or solid, should touch it directly.
- Do not empty the pool to find the leak. An empty pool leaves the membrane exposed, and the instructions advise against leaving it without water.
- Do not glue a vinyl patch over a seam. A reinforced membrane is repaired the way it was laid, by welding a new piece of the same membrane in with hot air.
The pool we were called to, and what helps us
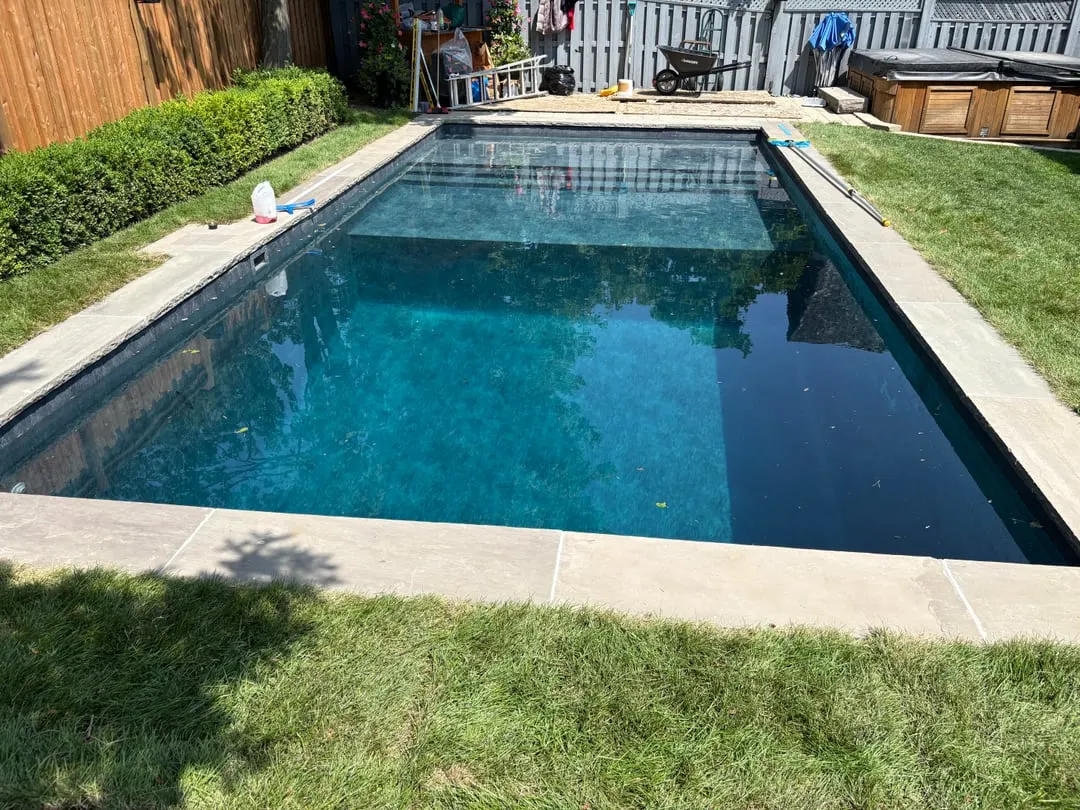
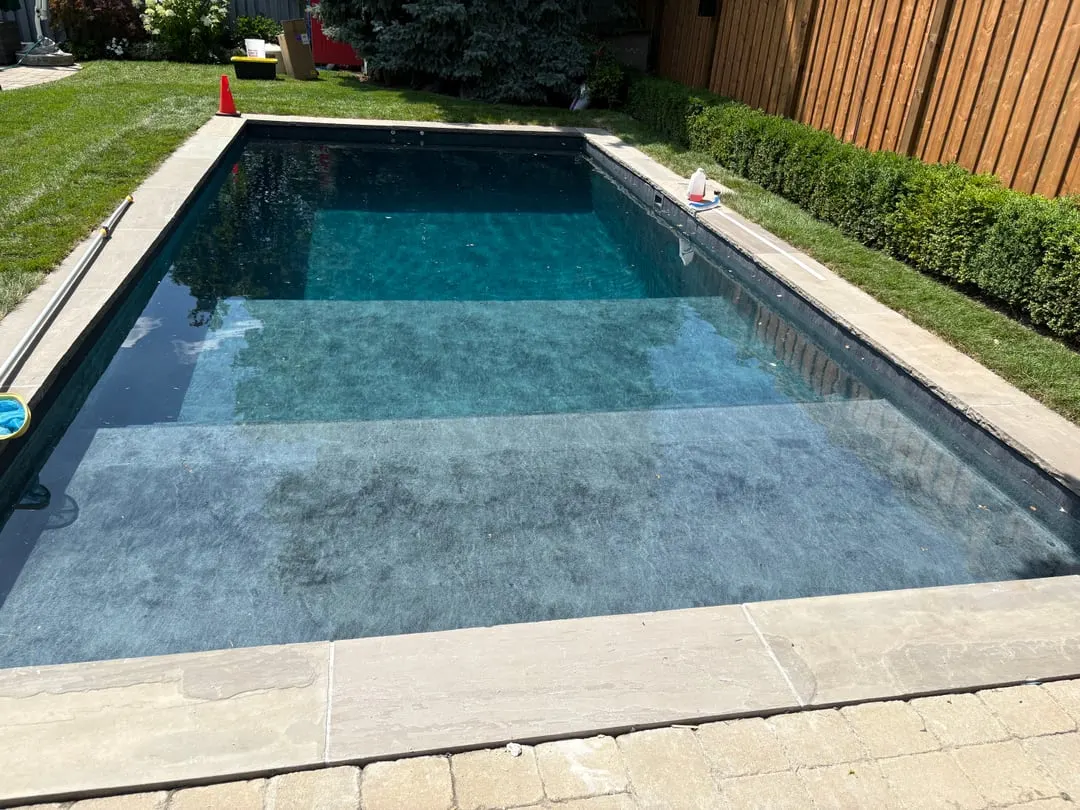
Our second pool in Canada came to us leaking badly. It had been finished in 2023 with a poorly installed membrane, and two repairs by others had not stopped the water. In the summer of 2025 we spent six days on it: we rewelded almost all the seams, removed several wrinkles, cut out the membrane around the fittings and welded in new patches, then reinstalled every flange. The leaks stopped.
The owners called us back the next season to put a new membrane on the whole pool, once they had the problems under the old one corrected. That job is on our pool renovation page, and the way a new membrane is laid and welded is shown step by step on the installation page.
If your test points to the pool, send us:
- the pool's history: when it was lined, by whom, and any repairs since;
- your two test results, with the pump on and off;
- photographs of the seams, the fittings and any wrinkle, close up and from a step back.
Within three days you hear back from us with a date for the estimate, and if the photographs are not enough, we arrange to see the pool.
Questions owners ask about a leak
Can I check for a leak while the pool is closed for winter?
Not with any accuracy. Under a cover the level moves with rain, snow and ice, so the test waits until the pool is open and the water has settled. An indoor pool can be tested at any time of year.
Does a leak mean the pool needs a new membrane?
Often not. A leak at a seam or a fitting is usually rewelded or patched in place. On the pool described above a repair stopped the leaks, and the owners chose to redo the whole surface the following season.