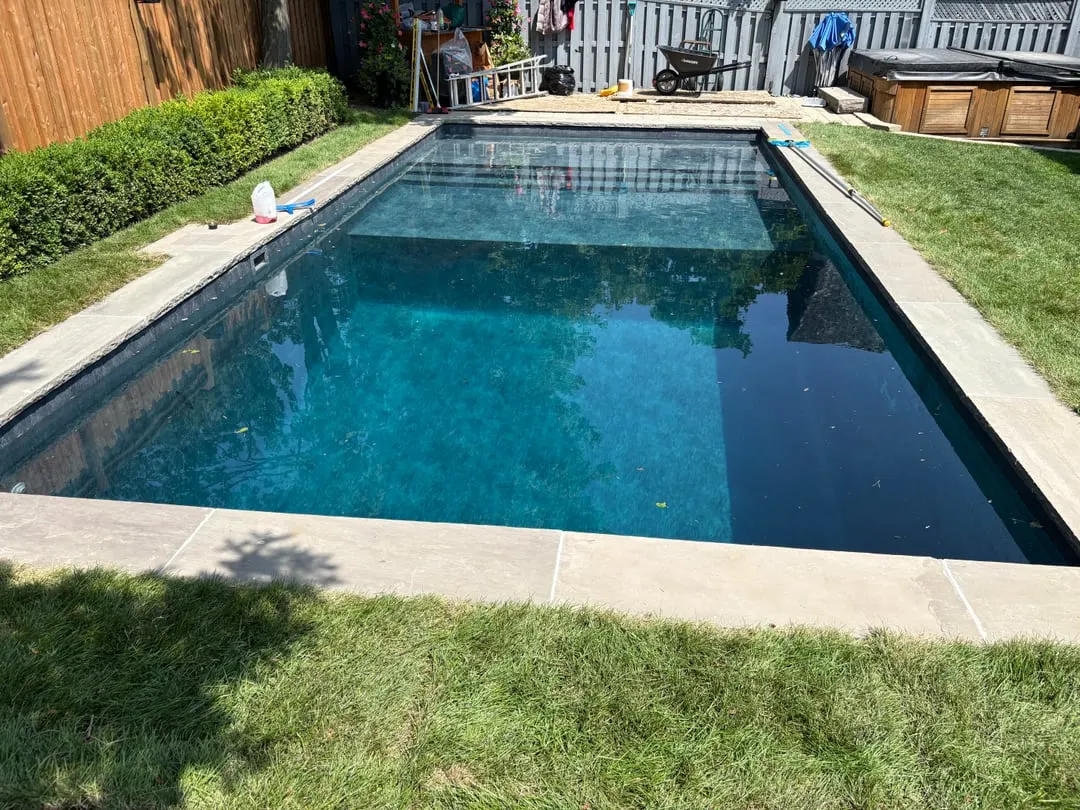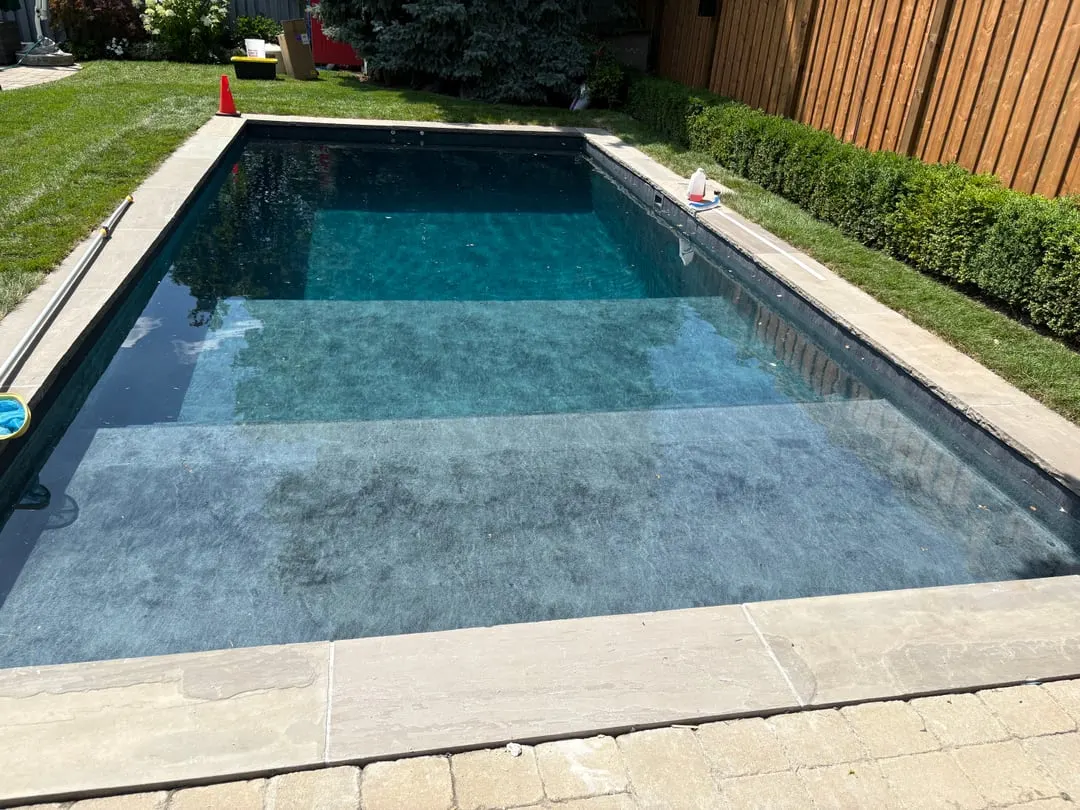
Many pools in Canada were built in concrete decades ago and finished in paint, plaster or tile. By the time an owner starts asking about a new surface, the paint is flaking, a few tiles have let go and the pool needs topping up more often than it should. A reinforced PVC membrane can go over almost any of these shells. It gets welded on site, sheet by sheet, so it does not depend on the old finish to hold water.
There is one rule that decides everything else. A membrane takes the shape of whatever it is laid over. A ridge, a hollow or a sharp edge underneath shows on the finished surface and wears it from behind. So the shell is put right first, and the membrane goes on after. On our second pool in Canada it was the owners who had the problems beneath the old surface corrected before we started, and that is how it usually runs: the shell is the owner's builder's work, the underlay and the membrane are ours.
Below is the walk we would take around an empty shell, in the order you meet things as you climb down the steps.
Walk around the empty shell
The floor
Stand in the shallow end and look along the floor with the light low, early or late in the day. You are looking for anything that throws a shadow: a lump of old repair mortar, a ridge where two pours met, a dip where water still stands after the rest has dried. A dip under a membrane fills with a fold of material, and a lump becomes a bump your feet will find every swim.

The walls and the old paint
Flaking paint is common on old concrete pools, and on its own it is mostly a cosmetic problem: loose flakes are scraped off so the underlay sits on something firm. What matters more is what is behind the paint. Press a screwdriver into any patch that looks soft or powdery. Concrete that crumbles under the tip needs the builder's attention before anything is laid over it.
The tiles
Tap the tiles with the handle of the screwdriver. A tile that is still stuck fast gives a sharp click; a tile that has let go sounds hollow. Count the hollow ones and note where they are, waterline tiles especially, because they take the most frost. Loose tiles are taken off and the gaps filled flush, so nothing moves under the underlay later.
Owners often worry that the grid of old tiles will print through the new surface. That is the job of the geotextile underlay laid between the shell and the membrane. RENOLIT describes its own geotextile fleece this way in the technical data sheet for RENOLIT ALKORPLUS geotextile fleece:
Thanks to its high density, it reduces notably when rehabilitating swimming pools, the membrane marks the picture of the ceramic or tile installed in the old basin.
The same sheet calls it a separation layer between the membrane and the support, lists its resistance to concrete, acids and alkalis, and says it is fixed to the pool with contact glue. A felt that dense evens out grout lines. It does not hide a tile standing proud of its neighbours, which is why loose and raised tiles come off first.
Cracks
Photograph every crack you can find, with a coin held next to it so the width is clear, and write down whether it was there last year. A fine crack in old paint is one thing. A crack you can push a card into, or one that has grown since last season, tells you the concrete is moving, and that is a question for a structural repair before any surface is chosen.
The fittings
Every drain, return, skimmer and light passes through the surface. With a membrane, each one is sealed the same way: the membrane is cut around the fitting and clamped to it with a flange. That needs a fitting that is sound and sits flush with the wall. Look for cracked faceplates, rusted screws and any fitting that has been patched around with mortar, and tell us which ones the owner plans to replace. Changing a fitting is equipment work done before we arrive.
The steps and benches
Old concrete steps are often the most worn part of the pool, with chipped nosings and edges rounded by years of feet. A membrane follows a step exactly, tread and riser, so a chipped nosing should be rebuilt square first. How we cover treads, risers and ledges by hand is shown on our page about membrane on pool steps and benches.
The top edge
Last, look at the top of the wall under the coping. The membrane finishes there, so the edge has to be straight and solid along its whole length. Loose coping stones and a crumbling wall top are fixed by the builder now, while the pool is open to work on.
Who does what, and in which order
Once the shell is sound, our part starts. The surface is cleaned, the geotextile underlay is laid over the walls and floor, and the membrane goes on in sheets that are welded to each other with hot air, seam by seam. Every fitting is cut in and its flange reinstalled. Steps are lined by hand. The whole sequence is photographed on our membrane installation page.

If you have had a liner pool rather than a painted or tiled one, the path is a little different, and we wrote about it separately in replacing a pool liner with reinforced membrane.
What to photograph before spring
We prepare every estimate after reviewing the pool, and photographs come first. If the pool is empty or about to be closed, these are the pictures that save a visit:
- The whole pool from each corner, standing on the deck.
- The floor from the shallow end, with low light, so humps and dips show.
- Each wall up close, where paint has flaked or tiles have come off.
- Every crack, with a coin beside it.
- Each fitting face on: drains, returns, skimmers, lights.
- The steps from the side, so the nosings show.
- A length of the top edge under the coping.
Add what you know about the pool's history: when it was built, what finish it had, and what has been repaired. A detail that seems minor, like a skimmer that was reset ten years ago, can change how a corner is lined.
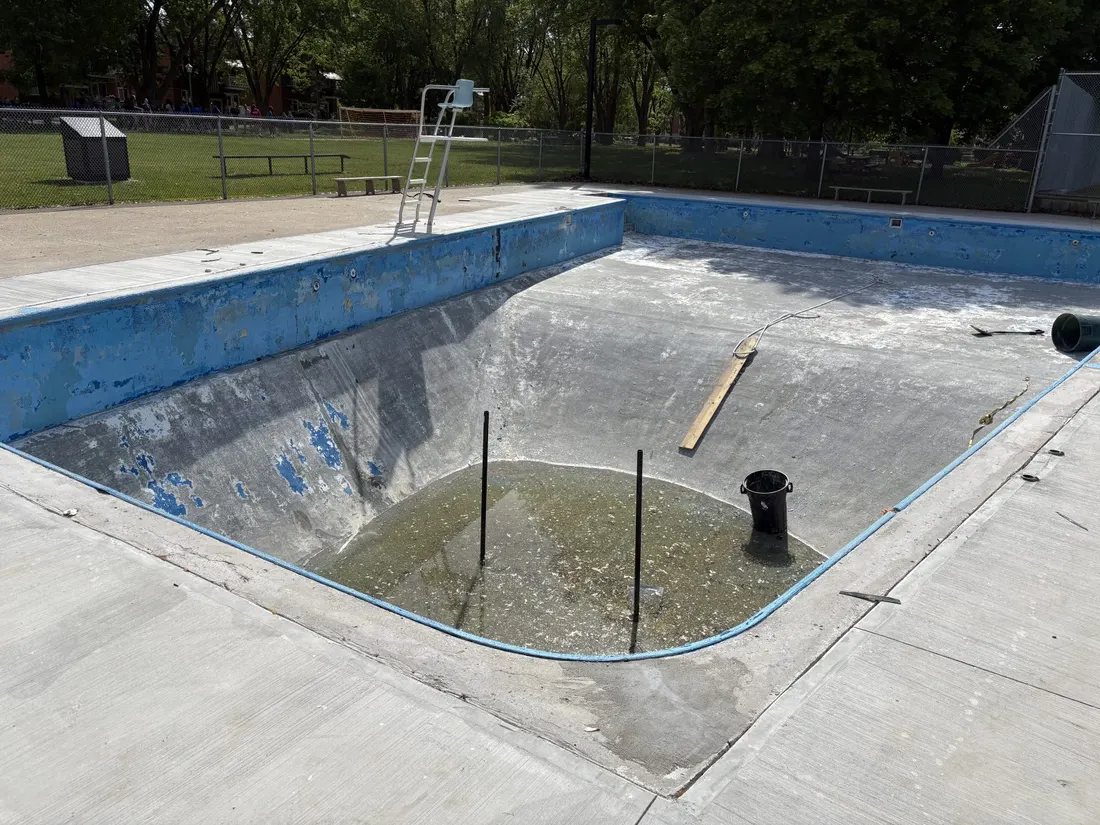
A round public pool, from bare shell to water
The round pool in the photograph above was bare concrete with the last of its blue paint at the rim. Once it was ready, it was re-lined in white membrane and filled.

More of that job, and of our first Canadian pool in Winnipeg, is on the pool renovation page. Owners we have worked for give us 5.0 from 9 Google reviews.
Two questions owners ask at this stage
Do the old tiles have to come off?
Not as a rule. Tiles that are still stuck fast can stay, and the geotextile laid over them helps keep their pattern from showing through. Loose or hollow tiles are dealt with before the underlay goes down.
Can the pool sit empty over the winter while we plan?
Ask whoever built or looks after the shell first. An empty shell in the ground has to cope with frost and groundwater, and that is a question about the concrete, not about the membrane.